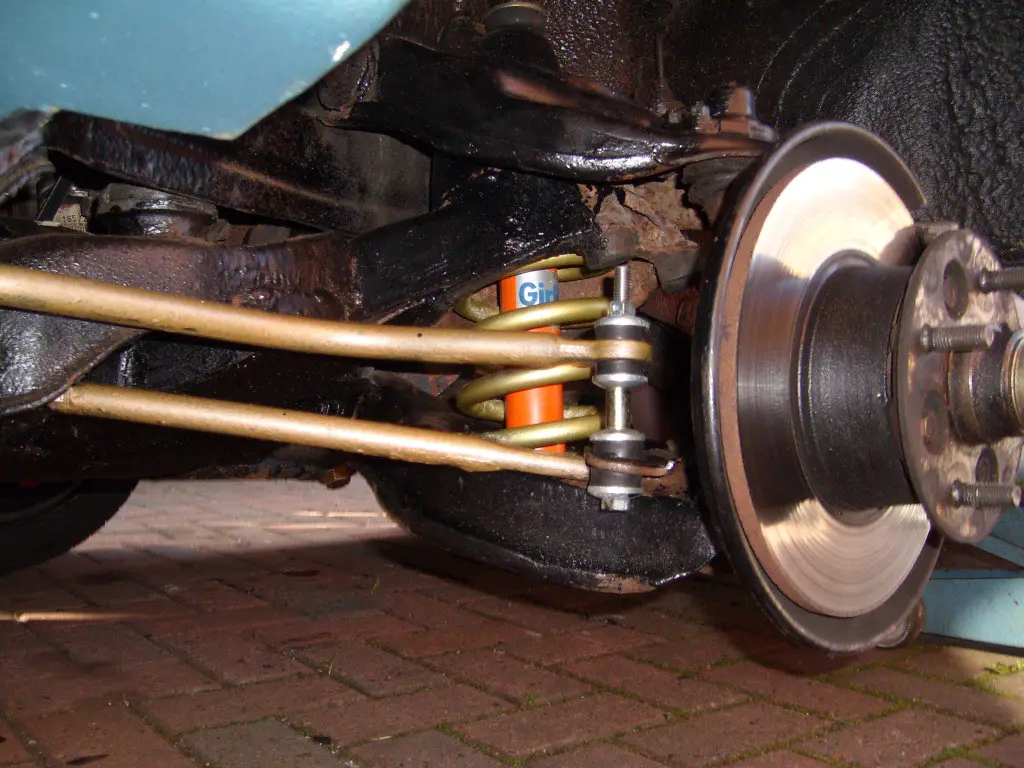
Are you ready to embark on a journey into the world of car maintenance and problem-solving? Whether you’re an automotive beginner or a budding enthusiast, understanding your vehicle’s health is a crucial skill. In this guide, we’ll unravel the basics of diagnosing and rectifying common issues, with a focus on ball joint problems. Plus, we’ll delve into the intriguing realm of “ball joint replacement cost.”
Unveiling the Mystery of Ball Joints: Your Car’s Suspension Heroes
Ball joints are unsung heroes within your car’s suspension system, ensuring a stable and controlled ride. If you’re grappling with strange sounds or steering difficulties, investigating your ball joints is a wise move. Here’s a comprehensive guide to get you started:
- Prepare and Lift: Gently loosen lug nuts and apply the parking brake. Elevate the front of your vehicle using jack stands on level ground.
- Rock and Assess: Give the tire a gentle back-and-forth shake along its axis. Minimal play is normal, but excessive movement indicates potential ball joint issues.
- Listen and Locate: Noises from the top suggest upper ball joint woes, while noises from the bottom point to lower ball joint concerns.
- Visual Inspection: For a closer look, remove the wheel. Look for rust, damaged dust boots (the rubber casing the ball joint), or telltale grease leaks.
- Test for Play: Employ a pry bar to gauge for play or clicking sounds. A healthy ball joint should exhibit no noticeable looseness.
- Repeat and Validate: Extend your inspection to all wheels following the same procedure.
Deciphering the Enigma: What’s the Ball Joint Replacement Cost?
When the need for ball joint replacement arises, cost becomes a central consideration. On average, individual ball joint parts range between $80 and $150. However, luxury or performance vehicles can see costs rise to $350 each. Labor expenses typically fall within the $250 to $300 range. As a ballpark figure, be prepared for a total cost ranging from $400 to $800. For example, a 2005 Toyota Camry’s ball joint costs about $85 each, totaling around $450 with labor included. In the case of a 2010 ML-Class Mercedes, anticipate approximately $578 for both front ball joints, factoring in labor.
Savvy Strategies to Keep Your Wallet Happy
- Aftermarket Alternatives: Explore aftermarket parts crafted by third-party manufacturers. Prices start as low as $20. While quality can vary, reading user reviews and opting for parts with warranties enhances your chances of success.
- Embrace the DIY Spirit: Tackling ball joint replacement yourself eliminates labor costs, translating to savings of about $250 on average. However, if you’re uncomfortable with the process, it’s wise to leave it to professionals and absorb the labor cost.
Mastering the Art of Ball Joint Replacement
Undertaking ball joint replacement is a complex endeavor, yet armed with determination and guidance, it’s within your grasp. Here’s a succinct overview of the process:
Phase 1: Bid Farewell to the Old Lower Ball Joint
- Prepare and Elevate: Loosen wheel nuts and lift the car securely using jack stands.
- Dismantle and Detach: Remove wheels and the axle nut. Apply penetrating fluid to relevant bolts. Loosen caliper bolts and disconnect control arms.
- Separate and Clean: Disconnect the steering knuckle from the lower ball joint. Remove the snap ring and spray the area with a cleaner.
- Disassemble: Use a ball joint splitter to carefully detach the old ball joint.
Phase 2: Embrace the New Lower Ball Joint
- Clean and Prep: Clean the ball joint area thoroughly.
- Install and Secure: Introduce the new ball joint using a presser. Insert the snap ring and, if applicable, the grease fitting.
- Reconnect and Tighten: Reattach control arms and steering knuckle. Secure the caliper and tighten bolts using a torque wrench.
- Lubricate and Complete: Apply grease to the lower ball joint.
Phase 3: Conquering the Upper Ball Joint Replacement
- Elevate and Prepare: Elevate the car, remove the wheel, and take off the axle nut.
- Loosen and Adjust: Loosen the brake and ABS line. Adjust the upper knuckle to facilitate access to the joint.
- Detach and Replace: Remove the snap ring and old joint. Install and secure the new joint.
- Final Steps: Grease the new ball joint and reinsert the snap ring. Reattach control arms and tighten bolts. Lower the car, reinstall the wheel and axle nut.
Empower Yourself and Transform Your Car Care Journey
By absorbing these foundational steps for diagnosing and addressing car issues, particularly those related to ball joints, you’re empowering yourself to take charge of your vehicle’s well-being. From understanding the intricacies of “ball joint replacement cost” to employing savvy strategies, you’re embarking on a thrilling exploration of automotive maintenance. Your car will thank you for it!


