
Despite how minuscule individual fuses are, a single blown fuse can easily cripple an entire car. So, how do you tell if a low-profile JCASE fuse in your car has blown, and how do you go about testing or replacing it?
Surprisingly, it’s fairly easy to tell if a fuse has blown, and typically, a visual inspection is more than enough for me to usually make a determination on whether a fuse has blown. And, which specific fuse it was.
However, if a visual inspection is not enough – either by looking for a broken wire or discoloration – an easy multimeter test to check for continuity would further confirm which fuse (JCASE or not) has blown.
So, here’s a step-by-step on not only how to tell if your car’s JCASE fuse has blown, but also how to test, as well as remove and replace the old fuse with a new one…
- Identifying a blown JCASE fuse
- Testing & confirming a blown fuse
- Tools & safety tips for replacing a fuse
- Removal process for the old fuse
- Choosing the right replacement fuse
- Replacing & installing the new fuse
- Final post-replacement checks
CAUTION: Before you proceed with how to tell if your JCASE fuse is blown, always disconnect the battery before removing the fuse to avoid any risk of electrical shock or short circuits.
STEP 1: Identifying A Blown JCASE Fuse
JCASE fuses are a common yet crucial component in modern vehicles, safeguarding electrical systems from overcurrent and short circuits. Understandably, diagnosing and replacing a fuse might seem daunting.
However, having encountered numerous instances where identifying and replacing a blown JCASE fuse was key to resolving electrical issues in cars, by now, I’m quite familiar with the process from start to finish.
First off, let’s begin by figuring out how to tell if that JCASE fuse in your car has blown, and this begins with a pretty simple visual inspection. Specifically, with a visual inspection, and being wary of these 2 signs:
- Broken Wire – Inside the fuse, a thin wire runs between the two metal prongs of the fuse. If that particular wire has broken off, or has melted, or is missing entirely, then the fuse is blown.
- Discoloration – Check for any signs of discoloration on the fuse’s window. A clear window usually means the fuse is good. Meanwhile, a foggy or blackened window suggests that the fuse has blown.
- Melting Fuse Body – Sometimes, the heat generated by a short circuit can cause the plastic body of the fuse to melt or deform. This is telling of a severe electrical issue that caused the emission of excessive heat.
STEP 2: Testing, Confirming, & Diagnosing A Blown JCASE Fuse
Next up, whether the visual inspection that you performed earlier has been inconclusive, or if you’d like to further confirm that the JCASE fuse has blown, use a multimeter to test for continuity in the fuse:
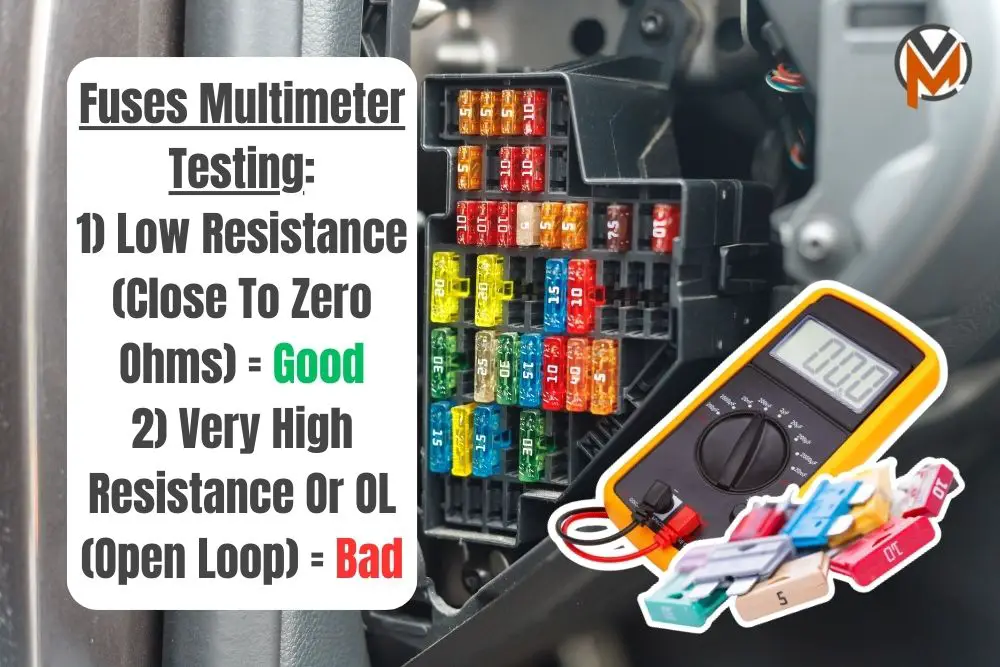
- Preparing The Multimeter – First up, turn your multimeter dial to the continuity setting. However, if your multimeter doesn’t have a continuity mode, you can just set it to the lowest resistance setting (ohms).
- Removing The Fuse For Testing – Next up, you’ll need to carefully extract the fuse from its slot using needle-nose pliers or a fuse puller. Remember, be sure to handle it gently to avoid damage.
- Testing The Fuse – Now, hold one probe of the multimeter to each end (metal cap) of the JCASE fuse that you’ve just removed. It doesn’t matter which of the probes goes on which end, given that you’re checking for a complete circuit. Then, check if you’re getting either of these 2 outcomes:
- Continuity Present (Good Fuse) – If your multimeter beeps or shows a very low resistance reading (close to zero ohms), it means the fuse is good. There’s a continuous path for the current to flow.
- No Continuity (Blown Fuse) – On the other hand, if your multimeter doesn’t beep or shows ‘OL’ (Open Loop) or a very high resistance reading, the fuse is blown. This indicates a break in the circuit within the fuse.
- Interpreting The Results – Do bear in mind, though, that sometimes, you might get fluctuating readings. In such cases, retest the fuse a couple of times for consistent results. If you’re still unsure, double-check to see if you’re noticing both visual damage, as well as a confirmation from the multimeter.
- What To Do Next? – If your car’s JCASE fuse is blown, replace it with a new one of the same amperage. But, if it’s still good, carefully reinsert it into its slot in the fuse box.
STEP 3: Tools & Safety Precautions To Replace A Fuse
Assuming that your JCASE fuse in your car has indeed blown, then you can proceed to replace it. To safely replace a JCASE fuse, you’ll need to prepare:
- Needle-Nose Pliers or Fuse Puller – I’d highly suggest getting these. They’ll help you grip and remove the fuse without damaging it or the fuse box. They’ll make the job of removing and replacing the old, blown fuse far easier.
- Safety Gloves and Goggles – Wear these to protect against accidental sparks or debris.
CAUTION: This prevents any electrical current from flowing through the fuse box during the replacement process.
STEP 4: Removing The Old, Blown JCASE Fuse
Due to their low profile design and form factor, JCASE fuses require careful handling when you’re removing them. To remove an old fuse, all you need to do is:
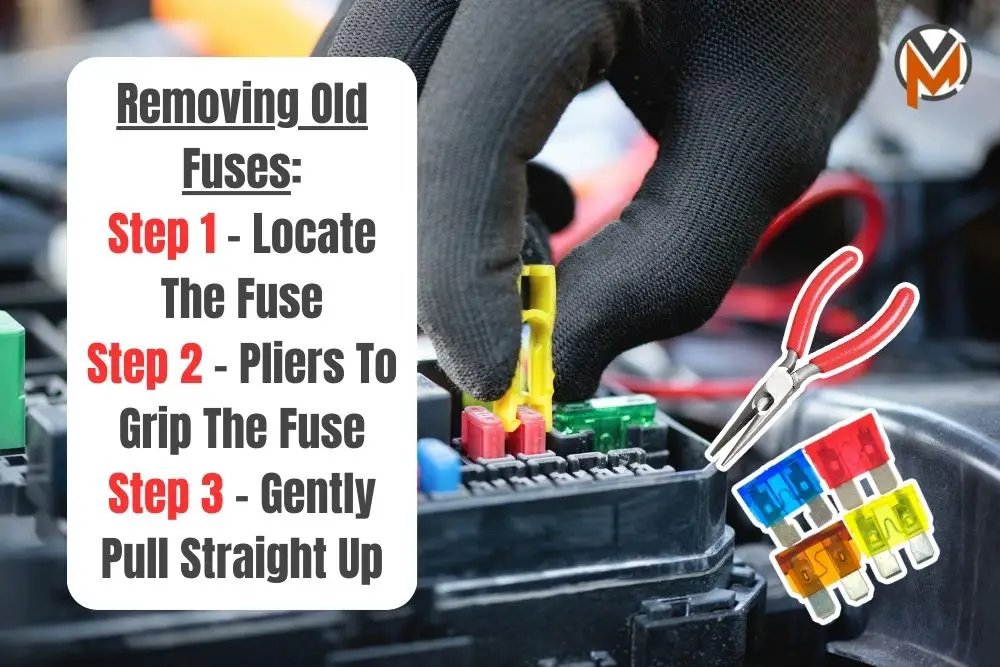
- Locate The Fuse – Identify the blown JCASE fuse in the fuse box.
- Grip The Fuse – Once you’ve found the blown fuse, proceed to use those needle-nose pliers or a fuse puller to gently grip the fuse. Remember, ensure that you avoid using excessive force.
- Pull Straight Up – Finally, gently pull the fuse straight up out of its slot, carefully. Tilting or wiggling the fuse sideways might damage the fuse box, so avoid doing that.
STEP 5: Choosing The Right Replacement JCASE Fuse
When you’re shopping around for a new, replacement JCASE fuse to replace the old, blown one, here are a couple of things to consider:
- Matching Amperage – Ensure that the new fuse matches the amperage of the old, blown one. This is usually printed on the top of the fuse. You can also refer to your car’s owner’s manual to find the right amperage.
- Fuse Type – Confirm whether your vehicle requires a standard length or low profile JCASE fuse. While they are sometimes interchangeable, it’s still crucial to check your vehicle’s manual for specific requirements.
STEP 6: Installing The Replacement Fuse
With the new, replacement fuse on hand, here’s what you need to do to install it in place in your car’s fuse box:
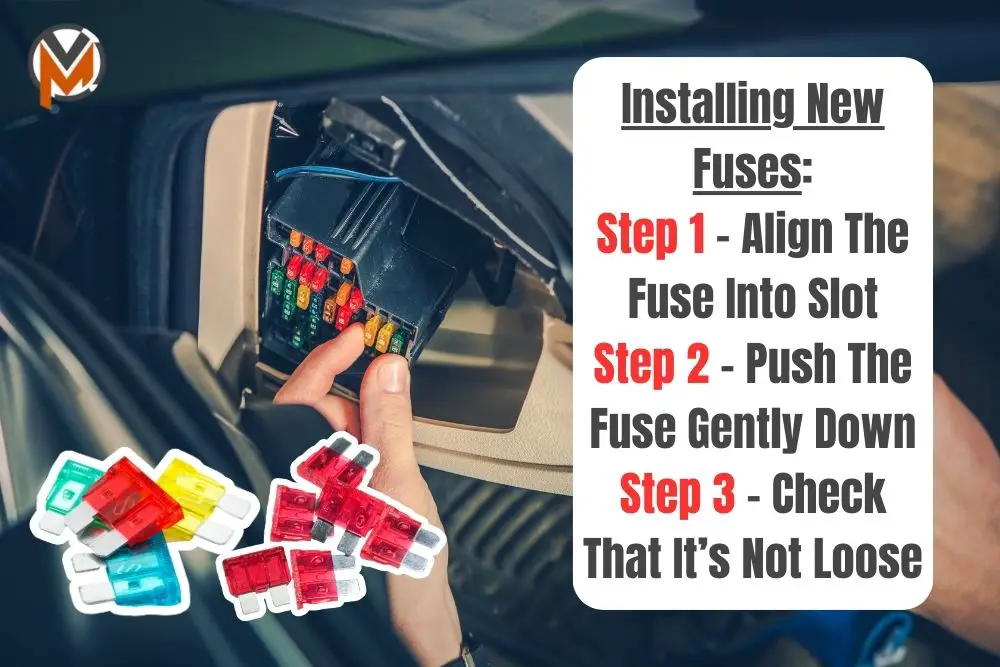
- Align The Fuse – Position the new, replacement fuse correctly above the slot. Make sure you take note and remember where you’ve removed that old, blown JCASE fuse.
- Press Down Gently – Push the fuse into the slot with a gentle but firm pressure until it’s fully seated. Ensure that you are as gentle as possible, and as I mentioned earlier, fuses are rather fragile.
- Check For Firmness – Ensure that the new, replacement JCASE fuse is not loose in its slot to help avoid poor electrical connections.
STEP 7: Final Post-Replacement Checks
Once you’ve replaced your JCASE fuse, there are still a couple of things that you need to do before you call it a day, and make sure that it’s working right:
- Reconnect The Battery – Carefully reconnect your car’s battery, which you’ve removed prior during the initial visual inspections and testing steps.
- Test The Circuit – Next, you can turn on your car and double-check that the components of your car that were previously affected by the blown fuse are not working, to ensure it’s functioning correctly.
- Inspect For Overheating – Finally, make sure you look for any signs of overheating or smell of burning near the fuse box, which could indicate a deeper electrical issue. This will otherwise require further diagnosis.