
Plastic gas tanks are becoming far more commonplace in many modern and newer cars due to them being a lightweight and cheaper alternative to metal fuel tanks. But, how to patch a hole in a plastic gas tank?
That is a common conundrum, as plastic is no doubt susceptible to damage, such as small cracks and holes. Therefore, if you notice a fuel leak, patching up that hole in your plastic gas tank urgently is important!
Thankfully, small holes in plastic gas tanks are pretty easy and straightforward to patch up and fix. First up, you’ll need to inspect the damage, and clean the area around the hole with alcohol and sandpaper.
Once it’s cleaned, you could patch up the hole pretty easily, either using epoxy putty or a plastic welding kit. Then, all that’s left is leaving it to cure, and with a final sand to smooth it down, your gas tank is fixed!
For a more in-depth step-by-step explainer on the process of patching up a hole in your plastic gas tank, I’ve put together this little guide to help you out (click on each one to skip to that specific step):
- Inspecting the damaged area
- Some safety considerations
- Prep all the necessary materials
- Locating and cleaning the hole
- OPTION 1: Using an epoxy putty
- OPTION 2: Using a plastic welding kit
- Curing and finishing the repair
- Testing for any leaks
Step 1: Inspecting And Analysing The Damage
Before attempting any repairs, it’s essential to assess the extent of the damage. Small holes and cracks in a car’s plastic gas tank could typically be repaired effectively and easily with simple tools and DIY methods.
However, if the damage is extensive, a replacement might be the safer option. So, begin by inspecting your gas tank to locate the hole. It’s vital to identify all damaged areas, as even a small crack can lead to leaks.
Step 2: Safety Considerations
Before you begin the repair process or if you’re even contemplating a repair, make sure you consider your safety and that of your car. It needn’t be repeated that safety is paramount when working with gas tanks.
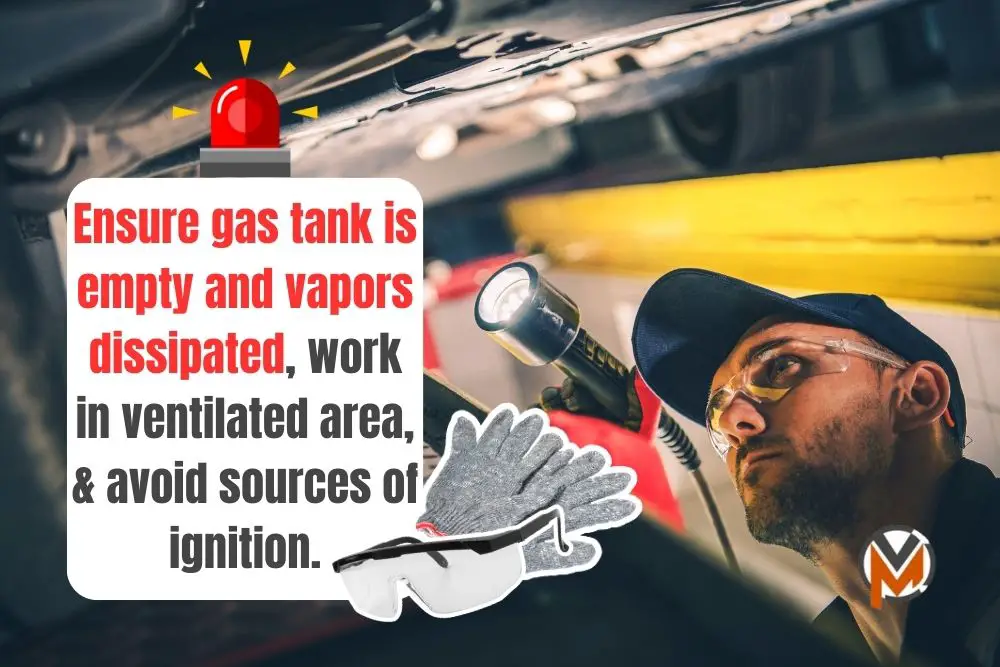
Ensure that your gas tank is empty and gas vapors are allowed to dissipate. Also, ensure that you work in a well-ventilated area, away from any sources of ignition, given the flammability of gasoline.
Additionally, it helps to wear gloves and safety glasses for protection. If you’re not confident in performing these repairs yourself, it doesn’t hurt to call in a professional mechanic to have that hole patched up.
Elsewhere, in cases where a proper repair isn’t possible, arranging for alternative transportation or towing is a good idea. Although, before towing your car, it’s advisable to drain the fuel tank beforehand.
Step 3: Prep All The Materials Needed
Once you’re ready to get started with patching up and repairing that hole in your car’s plastic gas tank, you can gather the necessary materials and tools:
- Epoxy putty or a plastic welding kit
- Sandpaper (medium grit)
- Clean cloths
- Rubbing alcohol
- Protective gear (gloves, safety glasses)
Step 4: Locating And Cleaning The Hole
Once you’ve located the hole, the areas around it must be prepared. That involves cleaning to remove any dirt, grease, or fuel residue. You can use a cloth dampened with rubbing alcohol for effective cleaning.
After cleaning, use some sandpaper to roughen the surface around the hole. This step is vital as it helps in creating a better bond between the gas tank material and the repair material.
Begin sanding in a circular motion, and extending a few inches beyond the hole. Next up, we can begin the fix, with one of two methods: Step 5a) using epoxy putty, or Step 5b) using plastic weld, instead.
Step 5a: Applying Some Epoxy Putty
First up, you’ll need to mix the epoxy putty. Epoxy putty typically comes in a two-part formula that needs to be mixed. Knead it with your fingers until it achieves a consistent color and texture.
This indicates that the hardener and resin are now well combined. With that done, you can apply the mixed epoxy putty over the hole in your plastic gas tank.
Press the epoxy putty firmly into place onto the hole, ensuring it extends beyond the edges of the hole. The goal is to create a seal that completely covers the damaged area and hole.
Finally, smooth out the edges of the epoxy putty with your fingers or using a tool, blending it into the tank’s surface. If you don’t have epoxy putty, there is an alternative method…
Step 5b: Using A Plastic Weld Kit
For plastic welding, you’ll need a specialized welding tool and a compatible plastic welding rod. Heat both the welding rod and the area around the hole in your gas tank.
The key is to melt them enough to fuse together without burning the plastic. Apply the molten welding rod over the hole, ensuring that it fully covers and adheres to the tank’s surface.
Move steadily, while maintaining consistent heat to create a strong bond. As you keep welding, the plastic rod should melt and merge with your plastic gas tank, filling the hole completely.
Remember, be cautious when working with a welding kit, especially given that you’re welding on your car’s gas tank. Once you’re done welding or applying the epoxy putty, leave it to cure…
Step 6: Final Curing And Finishing
Different repair materials have varying curing times. Refer to the product instructions for the specific time required. During this curing period (either using the epoxy or weld kit), avoid moving or using the tank.
Ensure that the repair is fully cured before refilling the fuel tank with gas. Once it’s cured, you might notice some rough edges or excess material on your car’s plastic gas tank, such as residual epoxy putty.
Use sandpaper to smooth these out, achieving a finish that blends nicely with the rest of your gas tank. For aesthetic purposes, you can apply paint that’s compatible with plastic surfaces, though this is optional.
Step 7: Testing For Any Leaks
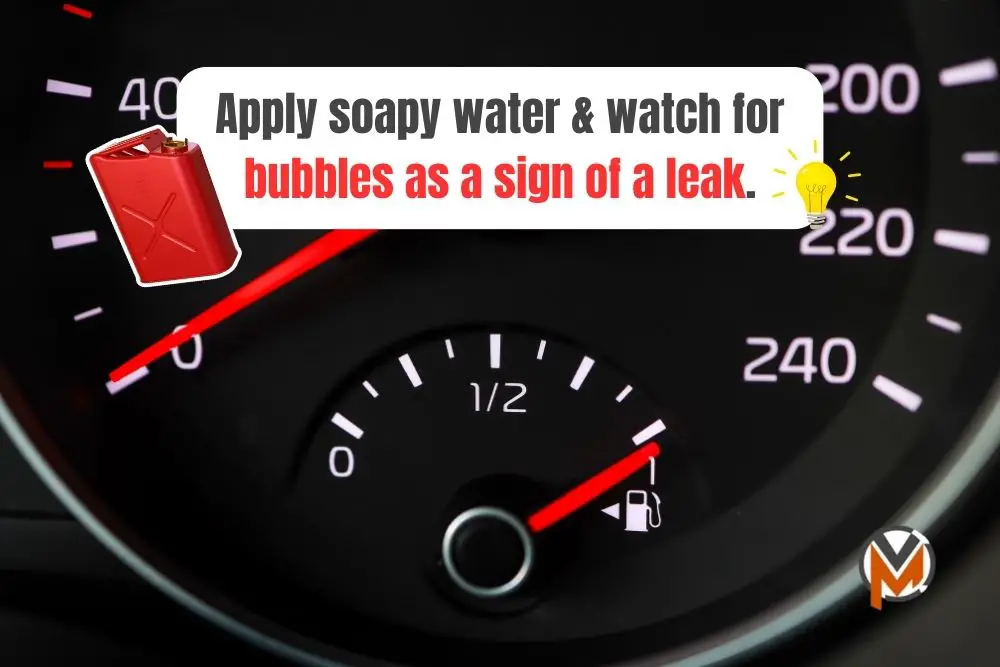
Last but not least, before you call this a job well done, it’s advisable to test for any leaks. You can do this by applying soapy water around the repaired area and watching for bubbles when the tank is filled.
So, proceed by filling the gas tank with a small amount of fuel to check for any seepage. If the repair holds, you’ve successfully patched the hole. Within the next few days, continue to inspect for any leaks.